Milky Way Photography: Tips for stunning shots
To capture stunning photos of the Milky Way, use a wide aperture of f/2.8 or wider to allow more light, set your ISO between 3200 and 6400 for proper exposure, and adjust the shutter speed between 10 and 25 seconds to capture sharp stars. Additionally, focus manually on a bright star or distant light and plan your session using a Milky Way calendar to find the best days for photography according to your location.
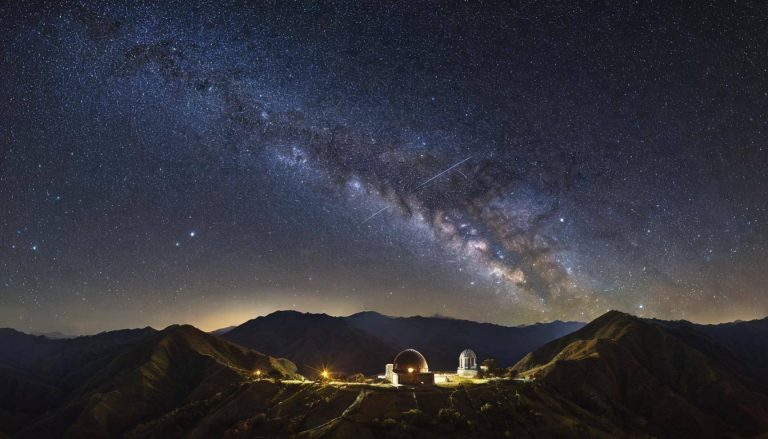
Capturing the Milky Way is a dream for many photographers who enjoy stargazing and venturing into nature. As the stars begin to dot the evening sky, there’s an unmatched excitement in waiting to click that perfect shot. However, getting a clear and stunning photo of our galaxy requires more than just pointing your camera upwards. Understanding how to adjust your camera settings and which equipment to use can make all the difference.
In compiling this guide, we spoke with seasoned photographers, tested various cameras and lenses, and explored numerous dark sky locations. A surprising revelation? You don’t always need ultra-expensive gear to get breathtaking results. Instead, focusing on preparation and technique can yield impressive images. With that said, let’s start by making sure you have all the essential tools ready for your next night outing.
Preparing Your Equipment for Milky Way Photography
When it comes to shooting the Milky Way, having the right gear can make all the difference. Let’s dive into the essential items you need in your kit before embarking on your cosmic photographic journey.
Setting Up Your Essential Gear
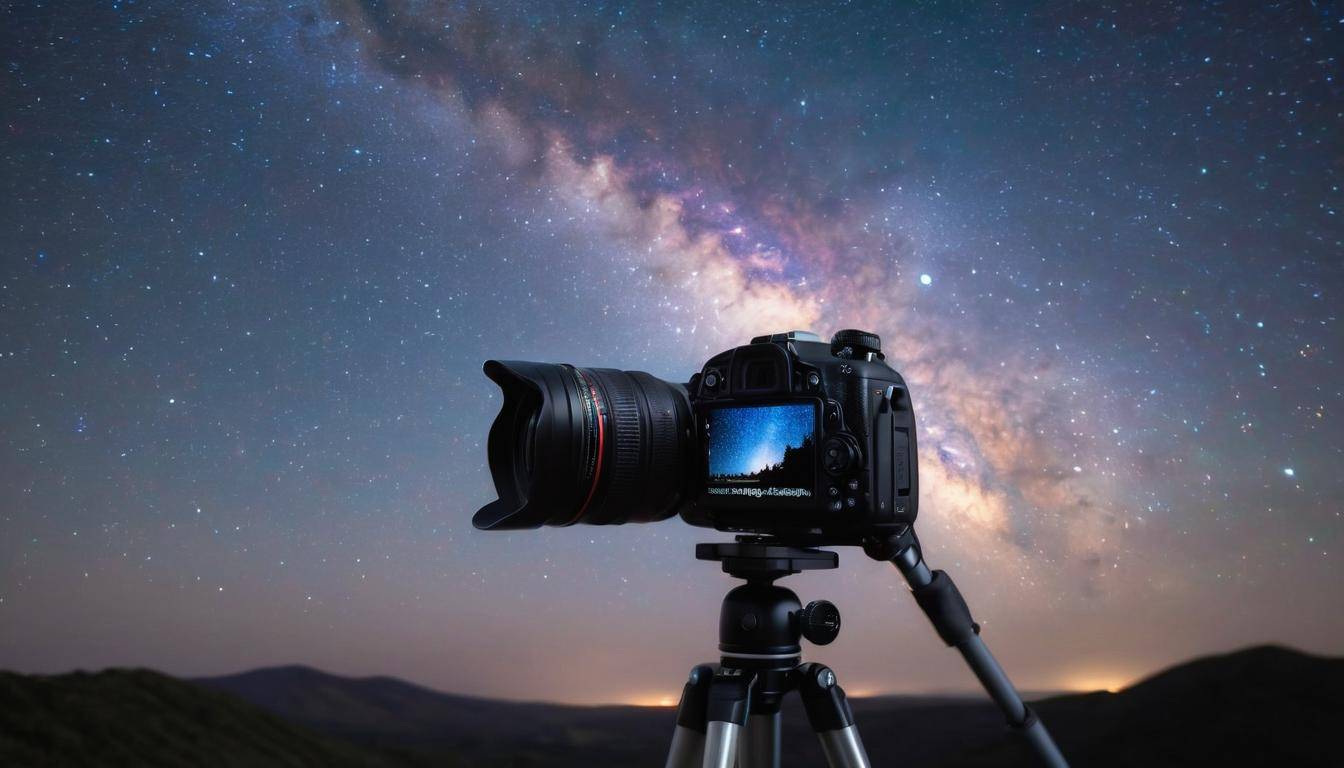
First and foremost, a sturdy tripod is non-negotiable. You’ll be working in low-light conditions, which means you’ll likely be using long exposure times. To avoid any blurriness from camera shake, invest in a reliable and sturdy tripod. A taller tripod also allows you more creative control over your shots by adjusting for different angles and heights.
Next, consider your choice of camera with manual mode. While many modern cameras offer excellent performance, full-frame cameras are often preferred for their superior low-light capabilities and ability to support higher ISO settings without excessive noise, ensuring clear and vibrant Milky Way shots.
Choosing the Right Lenses
A wide-angle lens is essential for capturing the expansive beauty of the night sky. Look for a lens with a wide aperture of at least f/2.8 to maximize the amount of light reaching your camera sensor and produce brighter, detailed images of stars and celestial objects.
When thinking about lenses, keep in mind that the ideal focal length for Milky Way photography typically ranges between 14mm and 24mm. This range provides a wide field of view, allowing you to capture more of the night sky in a single frame.
Accessories for Smooth Operation
For smooth operation and optimal image quality, don’t forget a shutter release remote or intervalometer. These devices allow you to trigger your camera without physically touching it, minimizing vibrations and ensuring sharp results during long exposures.
In addition to remote triggers, remember to pack enough backup batteries and memory cards. Long-exposure photography depletes battery power quickly, and capturing RAW images consumes significant storage space. Having additional power sources and ample memory at your disposal avoids missing out on incredible moments due to technical limitations.
Equipped with the right tools and accessories, you’re now poised to embark on your Milky Way photography adventure with confidence. The galaxy’s stunning beauty awaits, ready to be captured through your lens.
Now that you’re equipped with the necessary gear, it’s time to find the perfect location for capturing awe-inspiring Milky Way photographs.
Finding the Perfect Location
When you look at the night sky from a city, you might see a few stars here and there but not much else—the city lights are just too bright and cover up the beauty of the natural night. But if you find a place away from all those lights, you’ll see something truly magical—the breathtaking sight of the Milky Way.
The first thing to consider is light pollution. This is the glow in the sky that comes from city lights or other nearby sources. It’s like a veil that hides the stars, so the darker your location, the more stars you’ll be able to see and capture in your photographs.
So what kind of places should you be looking for? Well, here’s where to start:
Dark Sky Preserves
These are special areas where everything possible has been done to limit light pollution. Places like these will give you an unobstructed view of the Milky Way and are certified by the International Dark-Sky Association (IDA).
National Parks
National parks, especially those with vast open areas, often provide an ideal environment for stargazing and photography due to minimal light interference. These locations offer expansive, unobstructed views of the night sky, making them prime spots for capturing stunning shots of the Milky Way.
Apps and Maps
There are apps available that can help you locate these dark sky areas. For example, “Dark Sky Finder” is an app that can guide you to nearby locations with minimal light pollution. Additionally, maps showing light pollution levels in different areas can assist in identifying optimal spots for capturing clear and vivid images of the night sky.
Keep in mind that preparation and planning are essential when scouting for ideal locations to photograph the Milky Way. Prepare yourself with information about regions known for their low light pollution levels, as well as utilizing resources such as elevation ranges for optimal visibility and average annual clear nights for stargazing.
Choosing the right location is vital for capturing stunning Milky Way photographs. By finding an area away from artificial lights and utilizing resources like dark sky preserves and national parks, you can create captivating images that showcase the natural beauty of the night sky.
The perfect location sets the stage for breathtaking Milky Way photography. Now, let’s dive into optimizing your camera settings to ensure those mesmerizing stars are met with perfect exposure.
Optimal Camera Settings
When it comes to photographing the majestic Milky Way, setting up your camera correctly is paramount. Here are some detailed camera configurations to help you capture stunning night sky photos with precision and clarity.
Aperture
One of the most critical settings for capturing the Milky Way is the aperture. The aperture controls the amount of light that enters the camera. A wider aperture, typically at f/2.8 or wider, allows your camera to gather as much light as possible, resulting in brighter and more detailed images of the stars and the Milky Way. This means using a lens with a larger aperture opening allows more light into your camera, enabling you to capture intricate details of our galaxy without introducing unwanted digital noise.
ISO Sensitivity
ISO sensitivity refers to your camera sensor’s ability to capture light. For night sky photography, setting your ISO within the range of 3200 to 6400 ensures you get the correct exposure in low-light conditions, such as nighttime. The best ISO setting can vary based on factors such as your specific camera model, the presence of moonlight, and any external lights in the surrounding environment. By adjusting the ISO within this range, you can achieve optimal brightness while minimizing digital noise in your captured images.
Shutter Speed
The shutter speed determines how long your camera’s sensor is exposed to light. For photographing the Milky Way, it’s recommended to adjust your shutter speed to a duration between 10 and 25 seconds. This duration allows enough time for light to be collected by your camera’s sensor, capturing sharp details of the stars and the galactic core without causing star trails in your images. To ensure you’re avoiding star trails effectively, use the “500 rule,” which involves dividing 500 by your focal length (in mm) to calculate the maximum shutter speed in seconds before star movement becomes noticeable.
White Balance
White balance plays a crucial role in ensuring natural and accurate color reproduction in your Milky Way photos. Setting your white balance to around 4000K helps create a more natural tone, preserving the authentic colors of the celestial objects in your night sky images. Alternatively, manually adjusting the white balance based on specific environmental lighting conditions can also contribute to achieving desired color accuracy and vibrancy in your astrophotography compositions.
Mastering these camera settings is instrumental in elevating the quality and visual impact of your Milky Way photographs. By carefully configuring your aperture, ISO sensitivity, shutter speed, and white balance, you can unlock the full potential of your camera equipment and capture awe-inspiring images of our galaxy’s celestial wonders.
Understanding these technical aspects of capturing breathtaking Milky Way photos sets the stage for exploring advanced long exposure techniques that take your astrophotography skills to new heights.
Mastering Long Exposure Techniques
Long exposure photography entails using a long-duration shutter speed to sharply capture the stationary elements of images while blurring or obscuring the moving elements. When it comes to photographing the Milky Way, mastering long exposure techniques is crucial for capturing stunning and clear images that showcase the beauty of the night sky.
Here are some essential techniques to consider when mastering long exposure for shooting the Milky Way:
Stabilizing Your Camera
One of the most critical aspects of long-exposure photography, especially in low-light conditions, is ensuring that your camera remains perfectly still during the exposure. Any movement can cause blur in your images. To stabilize your camera:
- Use a sturdy, high-quality tripod that can support the weight of your camera and lens.
- Position your tripod on stable ground free from vibrations, such as a sturdy platform or flat surface.
Stabilizing your camera ensures that it remains motionless during the entire duration of the long exposure, resulting in sharp and clear images of the stars and the Milky Way.
Using Shutter Delay or Remote Shutter
In long-exposure photography, even the act of pressing the shutter button can introduce slight vibrations that may impact image sharpness. To minimize these vibrations:
- Utilize a shutter delay feature on your camera to introduce a brief gap between pressing the shutter button and the actual image capture.
- Alternatively, use a remote shutter release device to trigger the shutter without physically touching the camera.
By employing a shutter delay or remote shutter, you can further ensure that any vibrations from pressing the shutter button do not affect the clarity of your long-exposure images.
Effectively stabilizing your camera and minimizing vibrations through shutter delay or remote shutter usage are essential components of mastering long exposure techniques for Milky Way photography. These practices contribute to the production of sharp, clear, and captivating images of the night sky.
Now that we’ve covered these fundamental aspects of mastering long exposure techniques, let’s explore additional strategies for achieving exceptional results when capturing breathtaking photos of the Milky Way.
Balancing Light Conditions
When shooting the Milky Way, one of the most crucial factors to consider is ambient light. Any external light sources can significantly impact the clarity and vibrancy of your night sky photos, whether it’s street lamps, car headlights, or the moon.
To manage these external light sources effectively, here are some key tips to keep in mind:
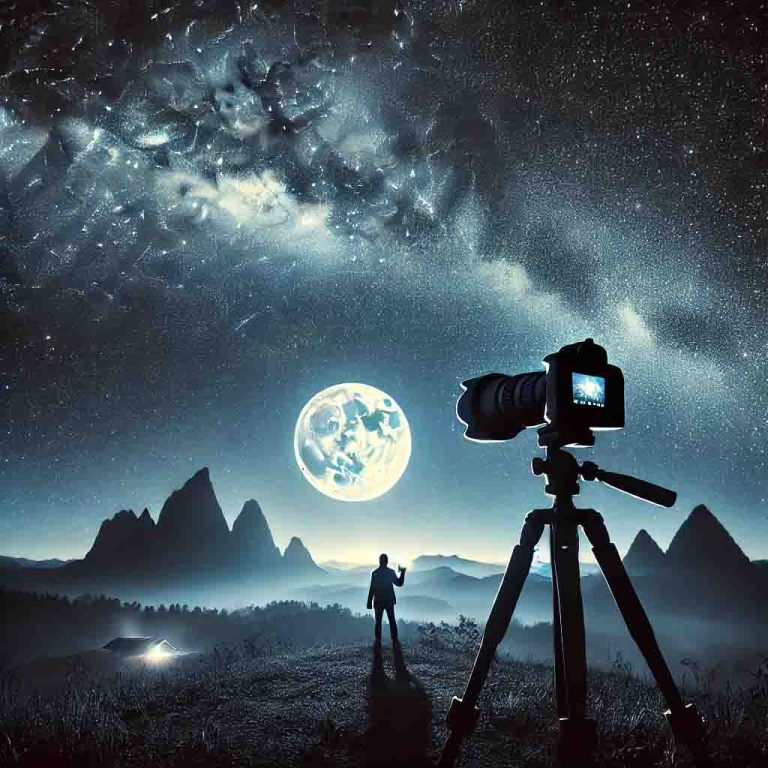
Avoiding Full Moon Nights
The glow of a full moon can be beautiful, but it can overpower the delicate light of the stars, making them seem faint or even invisible in your photos. To capture the Milky Way at its best, aim to schedule your photography sessions around new moons when the night sky is at its darkest.
Turning Off Nearby Lights
Minimizing ambient lighting from sources like street lamps and car headlights is crucial in reducing light pollution. Even distant artificial lights can have a significant impact on the quality of your Milky Way photos. When scouting locations for photography, look for spots with minimal human-made light interference.
Using Light Pollution Filters
In situations where you’re unable to completely avoid light pollution, using specialized filters designed to reduce the impact of artificial light on the night sky can be incredibly helpful. These filters attach directly to your camera lens and help block out specific wavelengths associated with light pollution, allowing you to capture clearer and more vivid images of the stars.
Imagine you’re out in a beautiful secluded area, ready to photograph the breathtaking expanse of the Milky Way. Suddenly, a car drives by, its headlights casting an unwanted glow across your carefully composed shot. This scenario emphasizes why it’s essential to be conscious of all external light sources when capturing night sky photos.
By managing these external light sources and implementing these strategies, you’ll have a much greater chance of achieving striking and unblemished images of the Milky Way. Remember that finding optimal shooting conditions involves planning and preparation. Doing so will ensure that your efforts result in stunning and captivating photographs that do justice to the awe-inspiring beauty of the night sky.
As we continue our exploration into techniques for breathtaking photography, let’s shift our focus to capturing complementary landscapes that enhance the allure of the night sky.
Composing Stunning Landscapes
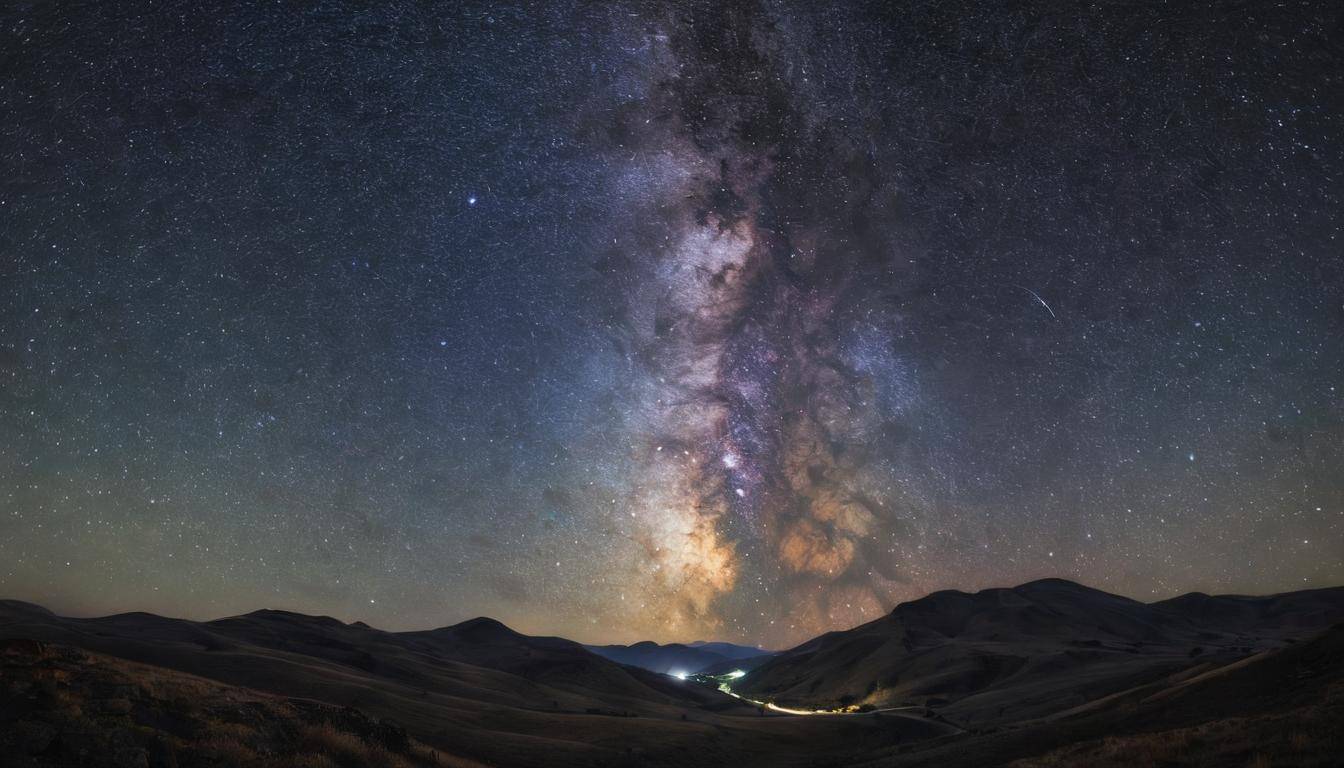
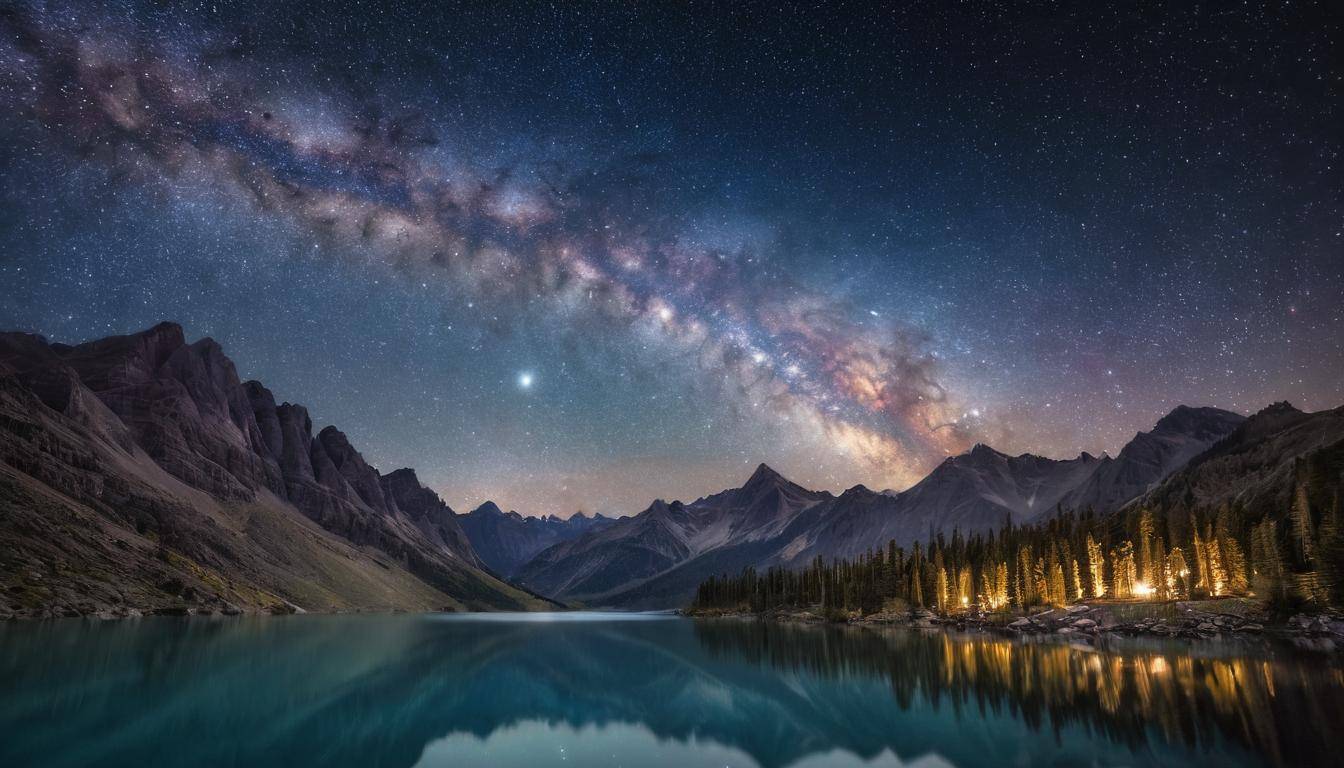
Photographing the Milky Way isn’t just about capturing the stars; it’s about creating an evocative and breathtaking image that draws viewers in. One key aspect of this is including elements in the foreground that add depth, texture, and context to your photo. This can be anything from a striking tree, a towering mountain, or even a reflective body of water. Including these elements not only creates visual interest but also provides a sense of scale and perspective, making the grandeur of the Milky Way even more awe-inspiring.
Imagine yourself standing in a magnificent landscape under the star-studded sky. The silhouette of trees against the galactic backdrop or a winding river leading towards the Milky Way can elevate your photograph from ordinary to extraordinary.
Integrating Foreground Elements
To create depth and add interest to your Milky Way photos, consider incorporating these techniques:
-
Foreground Elements: Include captivating foreground elements such as trees, mountains, or buildings that complement the celestial display overhead. These elements serve as anchoring points for your image, adding a sense of scale and proportion.
-
Rule of Thirds: Position the Milky Way along the top third of the frame for a balanced composition. This technique guides the viewer’s eye towards the beauty of the night sky while maintaining a harmonious relationship with the surrounding landscape.
-
Leading Lines: Utilize natural features like rivers, roads, or mountain ridges to direct the viewer’s gaze toward the Milky Way. These lines draw attention to the celestial spectacle overhead, creating a captivating visual journey through your photograph.
These compositional elements work together to transform your Milky Way images into immersive works of art that transport viewers to the heart of your nocturnal adventure.
When considering foreground elements, it’s essential to integrate them seamlessly into your composition to avoid distracting from the main subject—the Milky Way itself. Remember, these elements should enhance and complement the cosmic display rather than overpowering it.
By skillfully incorporating foreground elements and applying compositional techniques, you’ll take your Milky Way photography to new heights—creating captivating images that engage and mesmerize observers with their intricate interplay of celestial wonders and earthly landscapes.
Fine-Tuning Focus for Clarity
Capturing the awe-inspiring beauty of the Milky Way requires meticulous attention to focus. Achieving razor-sharp stars is essential to produce breathtaking night sky photos. Let’s explore some methods to ensure your focus is spot on.
One effective method for achieving precise focus is through the use of live view. By zooming in on a bright star in live view mode, you can adjust the focus until it appears as a sharp point of light. This technique allows for a magnified and detailed examination, ensuring that the stars are in perfect focus before capturing your shot.
Additionally, some lenses are equipped with an infinity focus feature, which provides a hard stop at the infinity mark on the focus ring. It’s important to verify this during the daytime by focusing on distant objects. This allows you to calibrate your lens to achieve optimal focus when shooting in low-light conditions.
Taking practice shots can also be immensely beneficial in fine-tuning your focus. By taking test images and carefully analyzing the results, you can make necessary adjustments to ensure that the stars appear clear and well-defined. This iterative process allows you to refine your focus settings and achieve exceptional clarity in your Milky Way photographs.
Utilizing these methods collectively will help you master the art of fine-tuning focus for clarity, ensuring that every star in your night sky photos shines brilliantly.
Mastering the techniques for capturing stunning night sky photos is just the beginning of the journey. Now, let’s shift our gaze toward the next phase—where we explore post-processing tips to elevate your night sky images even further.
Post-Processing Tips for Night Sky Photos
Once you’ve captured the perfect shot of the Milky Way, it’s crucial to add a touch of magic through post-processing. Software like Adobe Lightroom or Photoshop can help elevate your already remarkable images to a whole new level.
One essential aspect of post-processing night sky photos is noise reduction. When capturing photos in low light conditions, it’s common to have some digital noise. This can be especially prevalent in long-exposure shots, which are typical in astrophotography. Utilize noise reduction tools in software like Lightroom or Photoshop to clean up digital noise without sacrificing the intricate details of the stars and the Milky Way.
Moreover, consider enhancing the elements that make your Milky Way photos truly captivating. Adjusting contrast and using clarity adjustments can make the Milky Way stand out against the darkness of space, accentuating the finer details and textures within the galactic core to create a more visually stunning image.
In addition, tweaking the color balance is a critical step in bringing out the natural beauty of the night sky. Adjusting color balance can enhance the blues and purples inherent in the Milky Way, presenting a more vibrant and true-to-life representation of this awe-inspiring celestial phenomenon.
For instance, increasing contrast and properly balancing colors can transform an ordinary photo into an extraordinary one, accentuating the intricate details and breathtaking beauty of the Milky Way.
With these post-processing tips, you can elevate your Milky Way images from remarkable to extraordinary, bringing out the natural colors and details inherent in each stunning shot. After all, post-processing is where you have the opportunity to turn a great image into an unforgettable masterpiece.
Mastering post-processing techniques will add that finishing touch to your Milky Way photographs, allowing you to showcase their true splendor. If you’re a beginner into nightscape photography check out our article for beginners here.